


My cricut rollers finally wore, tore then finally broke off amidst numerous projects. I was stuck with these unfinished projects for graduation, personalized gifts and other stuff that I needed to act quickly on a way to fix.
My first instinct was to continue with the projects without the rollers but all the cricut machine did was eat up my mat and it took some force to remove the mats after the machine digested it. I thought I broke my machine. Frustrated? Yes, I was.
I looked to Google University to see if there were any other posts about cricut machine roller replacements and found out via other forums that the Cricut manufacturer will not perform repairs on their own machines so I spent some few hours going through some “take apart machine” DIYs that tell you to buy some cheap rollers from Amazon, then physically open up your machine to get to the area where you expose the roller rods, then you can simply glide the new rollers on. Simple my butt!
The caveat is that you’d need to remember the sequence of removing the parts because you’d have to put everything back the way they were, blogs say you simply put everything back in the oposite order that you took them out. Really? knowing me, I have bad memory. I don’t even have a good sense of direction! I have no time and patience to record myself taking things apart then watch a recording that I made of myself in rewind to put everything back together. I tend to fly things around and lose them most times (smh). Like how it is during the chirstmas gift-wrapping season where I tend to misplace the tape and scissors ALL the time and just that spins me into a fluster.
Here’s what I do know, this is my first time repairing a cricut and I like shortcuts.
There has to be a quick fix” I thought so the first thing I did was order a set of new rollers from Amazon like the other blogs say and when they came, I determined what they were made of.
Rubber…and what bonds rubber? Good old cyanoacrylate adhesive (aka superglue). Fast forward…I fixed my cricut rollers in no time without the tedious task of taking the entire machine apart then putting it all back together. I was back to creating my projects, graduation gifts and all that good stuff without unscrewing a single thing on my cricut maker machine. The rubbers held tightly without a fail after I was able to complete numerous projects. How long will it hold? Not sure but here’s to putting this hack to the test. We shall see . . .
The Cricut Roller Repair Hack Process
Materials that you will need:
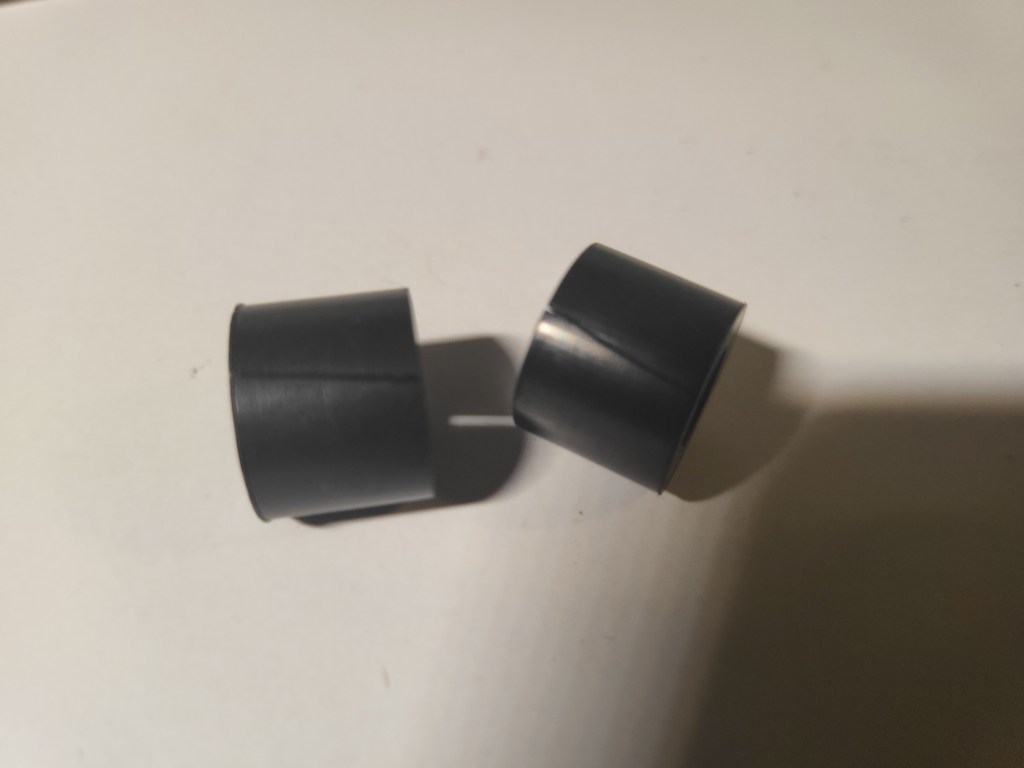
- Cricut rubber rollers compatible with your type of Cricut Maker
- Cutting Pad (optional)
- Blade for cutting
- Needle-nose plier
- Heat Gun
- Superglue (Gorilla Glue does not work)
NOTE: Be sure to work on a solid, flat surface for stability, with adequate lighting.
- Unplug your cricut machine and place it on a solid surface. You will need to plug it in later, so stay close to an outlet.
- If your old/worn rollers haven’t broken off completely, cut them off with scissors or a blade.
3. Take two new rollers out from its packaging and set them on a cutting surface. I used the cricut machine as a cutting surface but if you do not want to scar your machine, put them on a cutting pad.
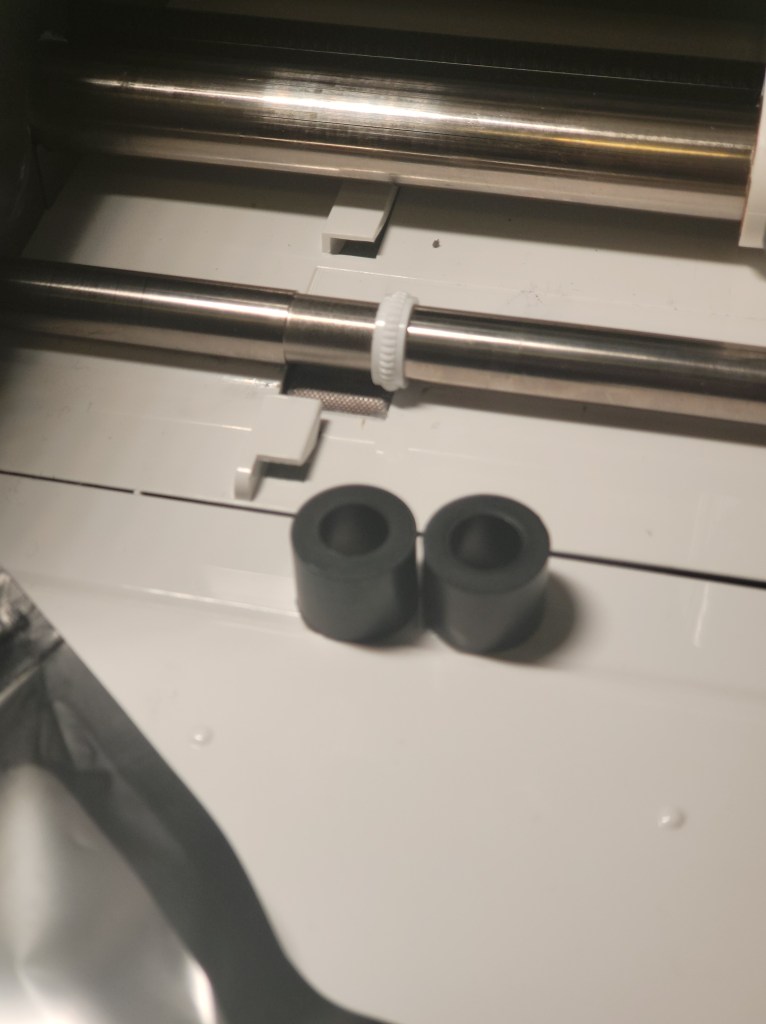
3. Cut through one side of each roller with a blade. It is ok if the cut you make on the rollers are not a straight cut.
4. Take one of the rollers and place it on a heat-repelling surface. Using a heat gun, heat the roller for 1-2 minutes to increase its pliability (ability to bend easy). The heat gun should be at least 2″-3″ away from the roller when heating or you risk melting the roller.
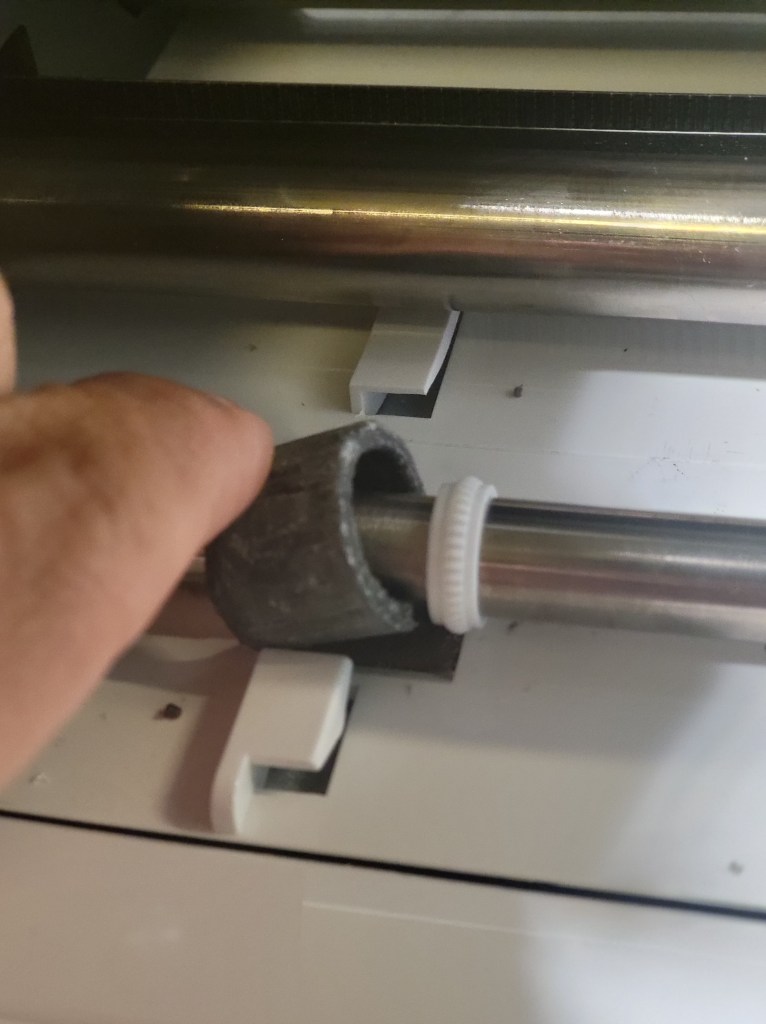
5. Take the heated roller and very slowly open it with your pliers*, just enough to allow it to slip onto the cricut rod. (*You can use your fingers but please be aware that the rollers may be hot to the touch.)
6. Move the roller to its proper placement (arrow).
7. With the roller in place, plug your cricut machine into an outlet, then press the feed button until the opening part of the roller faces up. You may need to press the button a few times.
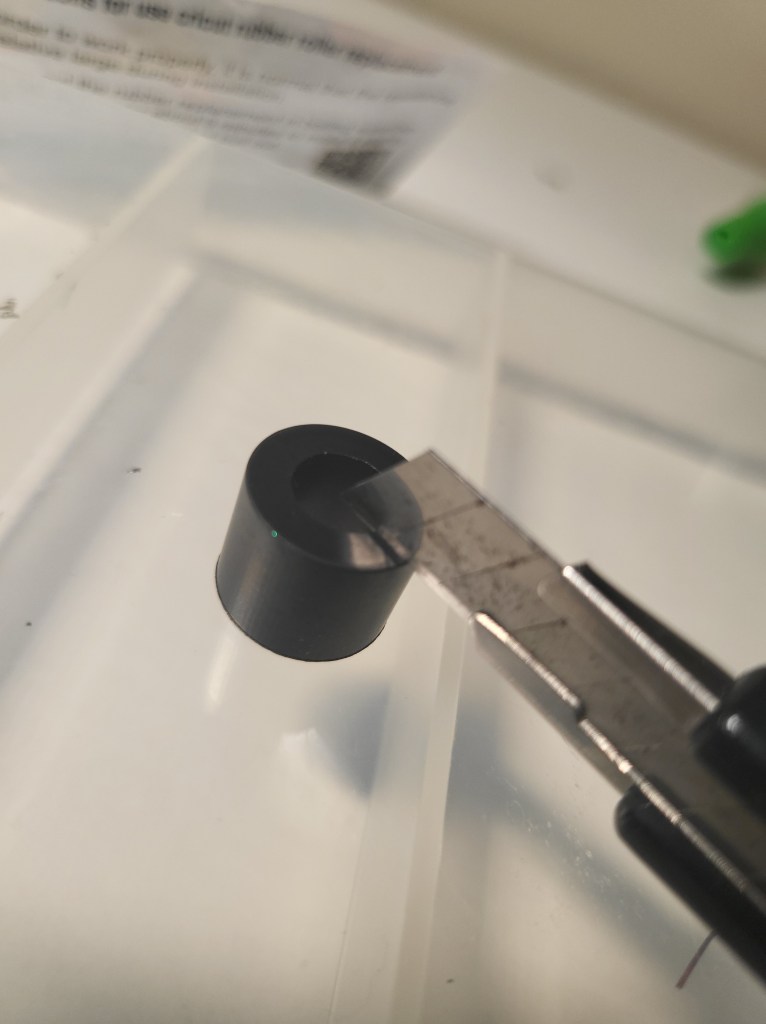
8. Take your needle nose plier and pinch the sides of the roller together until the cut sides come together uniformly. If you find that the ends do not come together easily, heat the roller up a little more (while still on the rod, and pinch it again with the pliers until both ends meet like in the image below. Note: You will feel some resistance, but the resistance is ok as long as you can get both ends to meet.

9. Once you feel that you can bond the ends together uniformly, prepare your superglue for application.
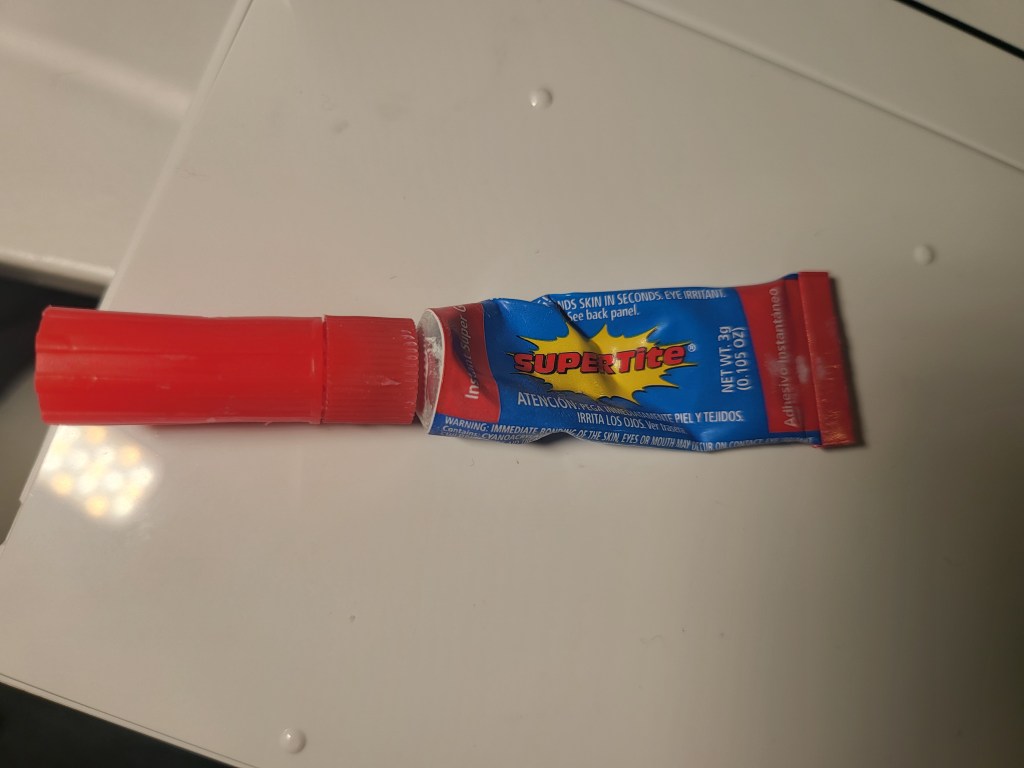
10. Apply superglue to one of the cut ends of the roller.
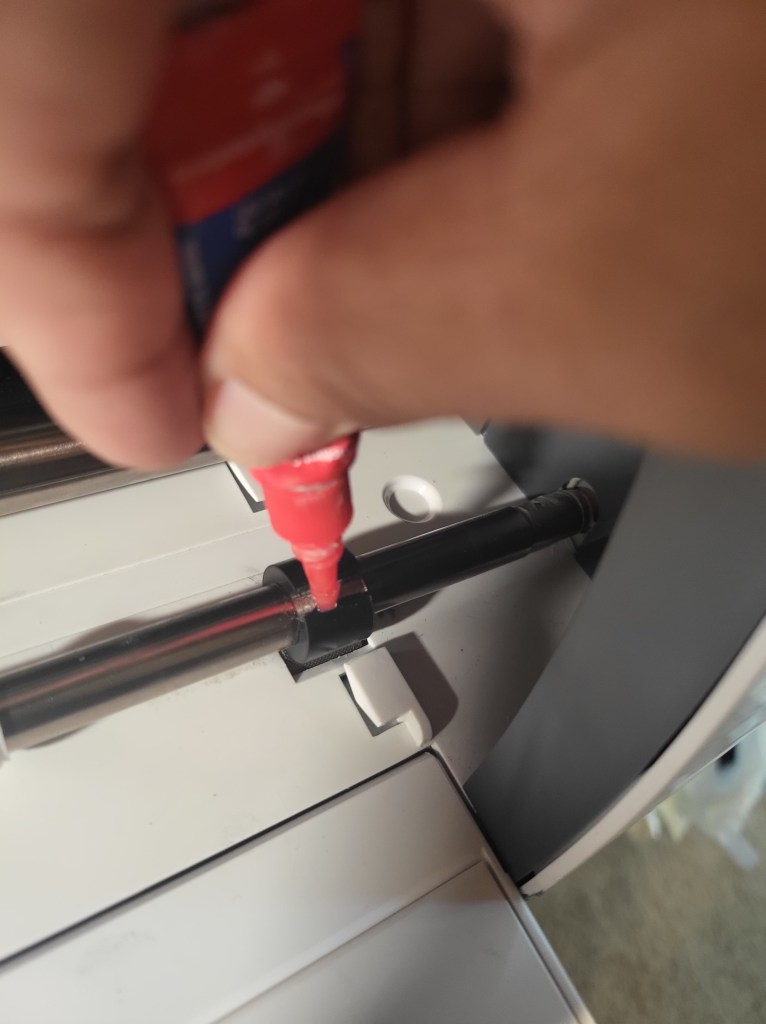
11. Quickly take your pliers and pinch the roller together. Hold the ends together in place for about a minute or so. The bond should be secure after about a minute of holding the ends in place.
12. Examine your roller to ensure all edges are hold together. If you see an edge that has not bonded together (likely because superglue wasn’t applied in the area), place a little bit of glue to the area then hold it in place again with the plier.
13. Repeat the steps for the other side of the machine with the other roller.
14. Plug in your cricut and test.
This should hold through for numerous cuttings until you have to replace them rollers again.

![Travel Bliss: Japan [Leg 2 of 2]](https://theblisscomplex.com/wp-content/uploads/2025/10/pexels-photo-8828614.jpeg?w=1024)


Leave a reply to Sue sunday Cancel reply